

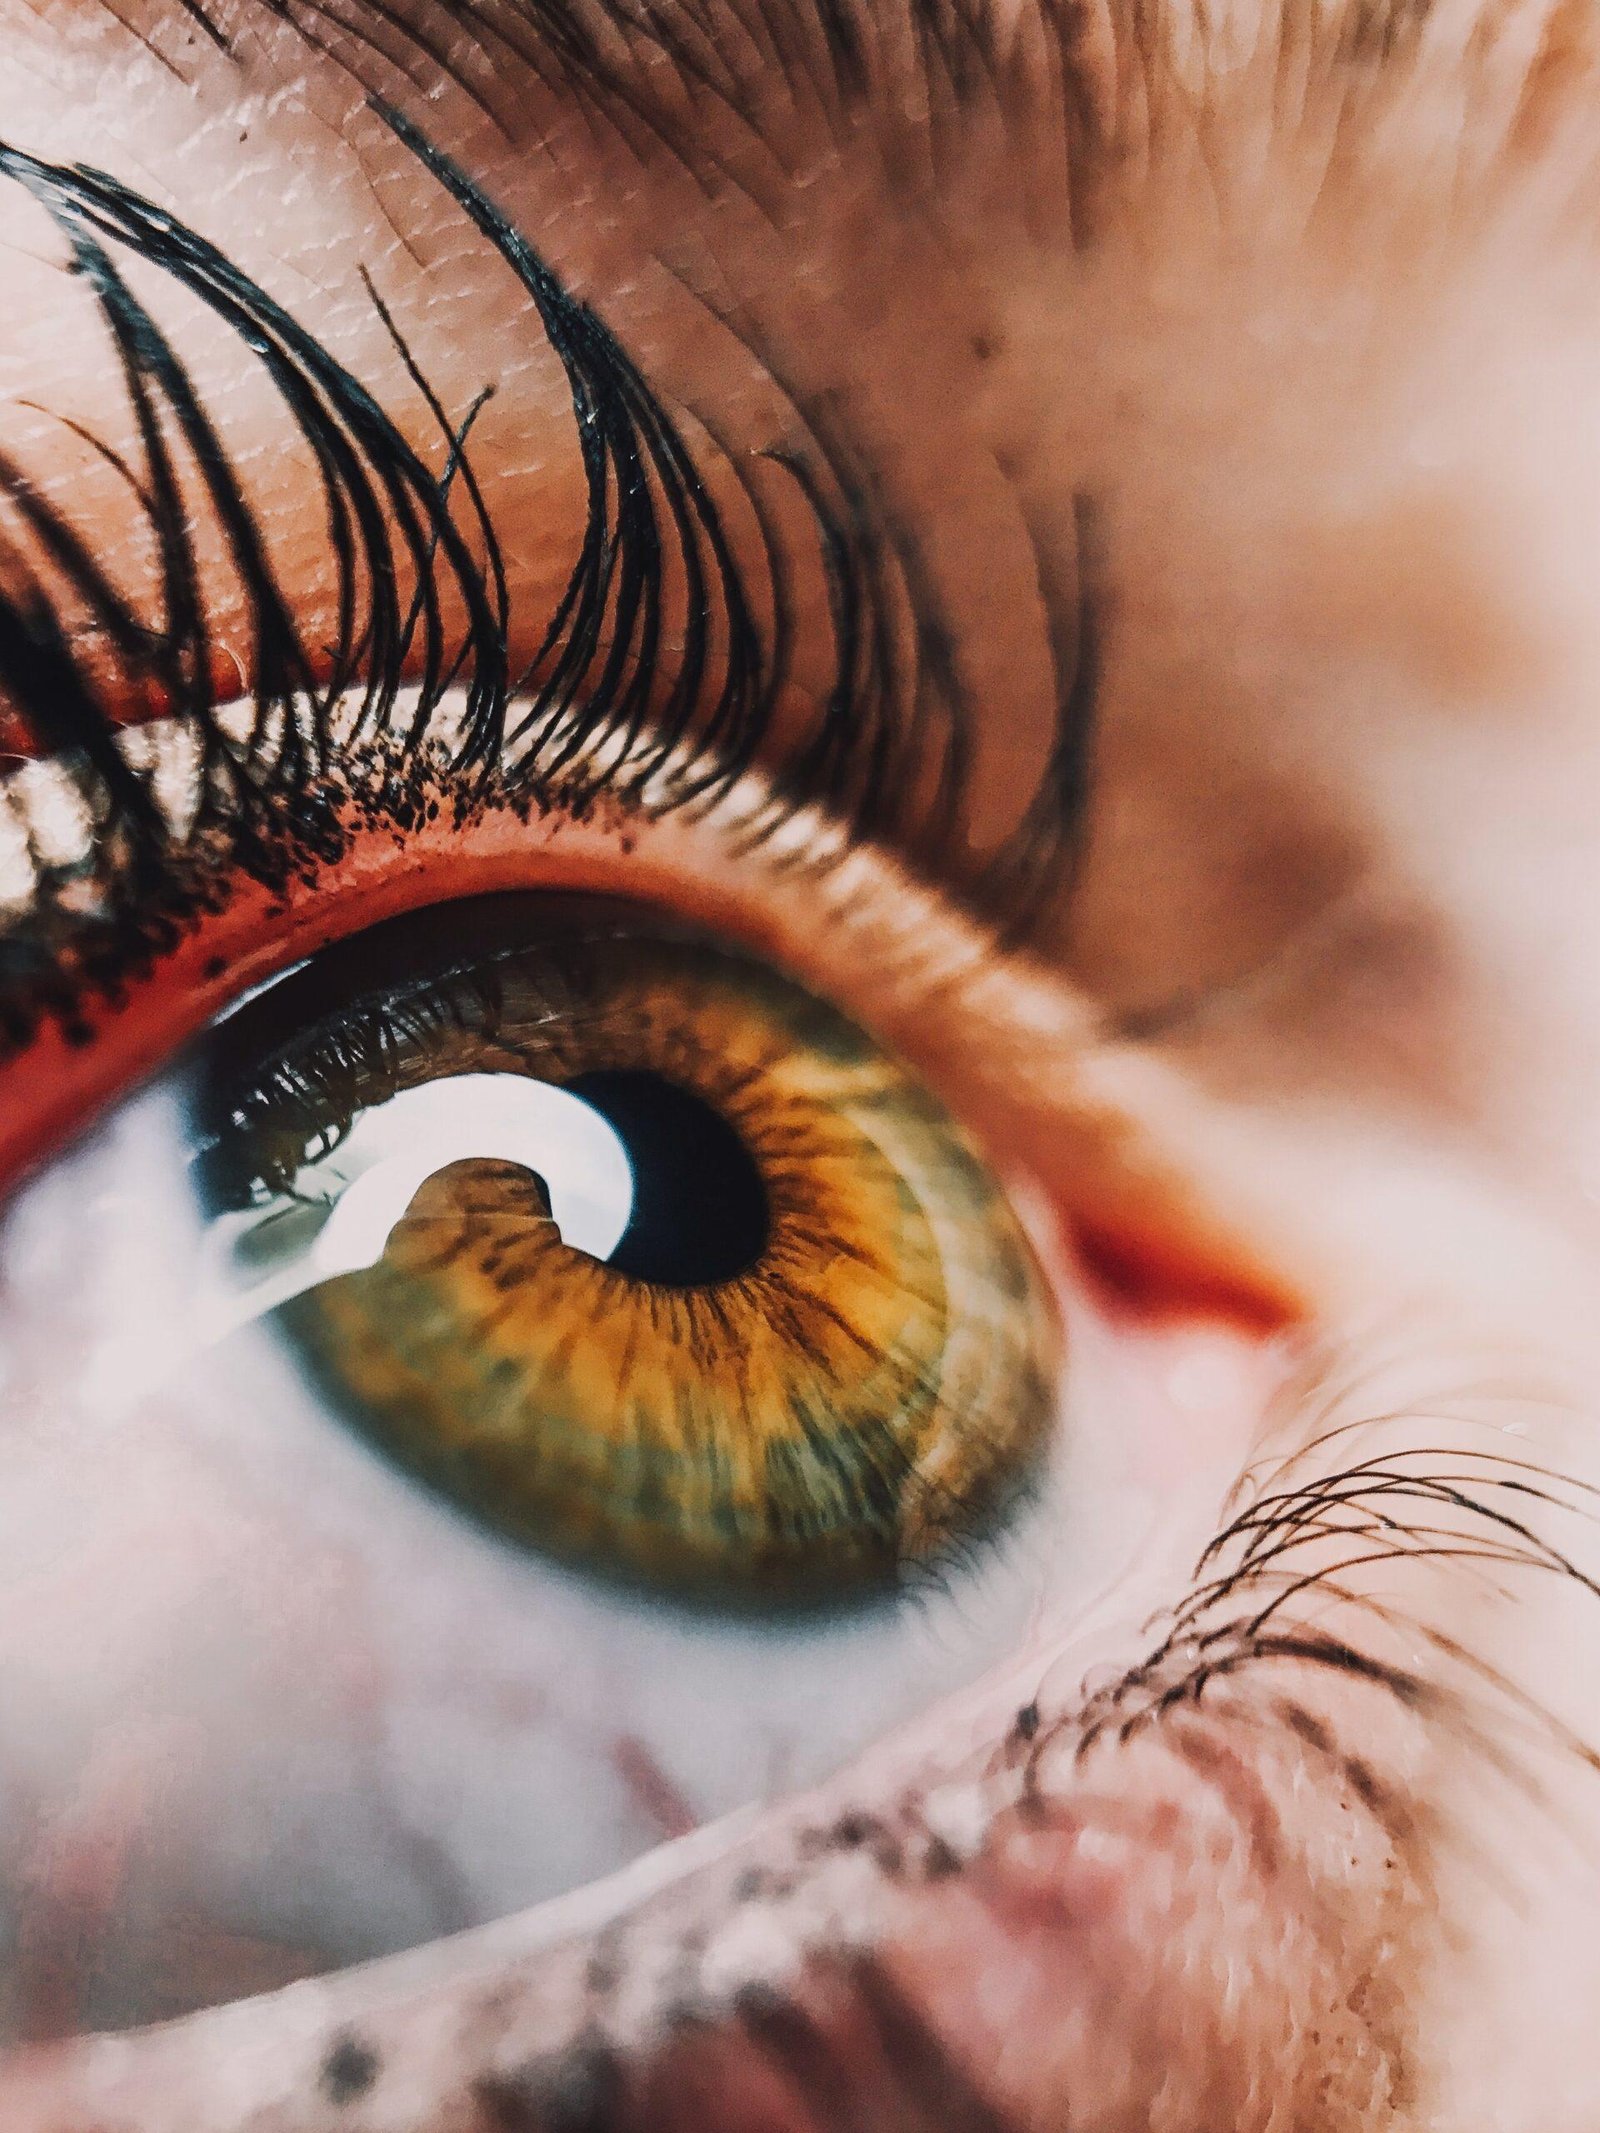
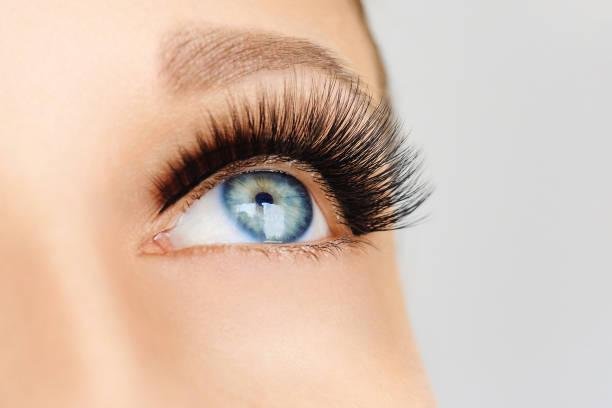
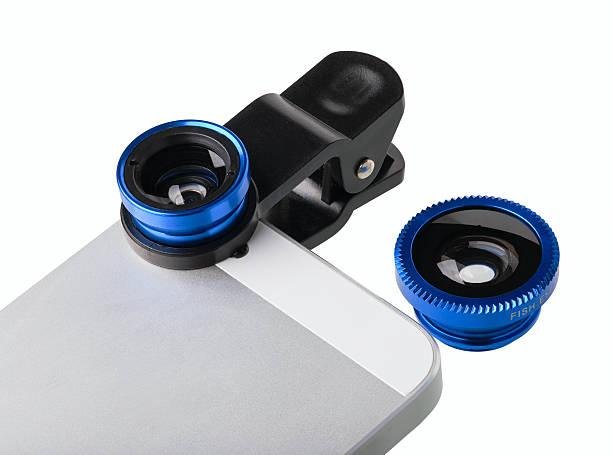
Amazing Lash Photos, You actually don’t need all this fancy equipment to take nice Lash photos. All you need is having professional looking pictures is so important when it comes to Instagram; it’s your chance to post your amazing Lash pictures. And Instagram is the perfect place for free Advertisement. So don’t blow it by posting sloppy images. Step one; let’s talk about what you actually need. It is a myth that you need all the best and most expensive equipment. You just need the essentials, which are firstly, your camera phone. Everyone’s got one. And who’d have thought that one of the biggest money making tools is right in the palm of your hand? Also, you need your macro lens for your phone. If you don’t know what this is, it’s basically so you can get really close up detail of your clients lashes without blurring the picture. And most importantly, you need good lighting. So you can either invest in a simple ring light of Amazon or eBay.
Good Lighting:
Good lighting is everything. I can’t stress this enough as long as you’ve set the stage perfectly. Nice lighting, that’s half the work done. Having a really good lighting set up is going to save you so much time in the retouching process.
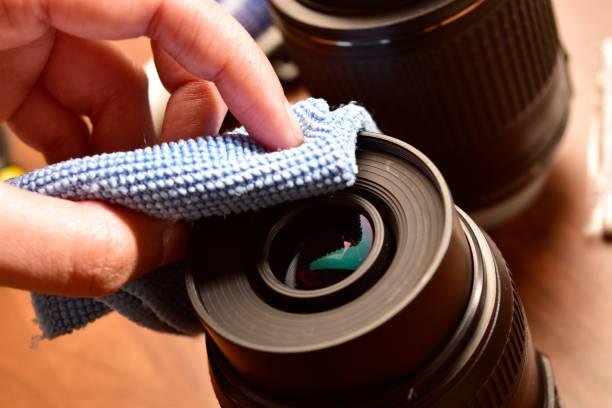
Step two; it’s time to set the stage. First thing, please remember to wipe your phone lens before taking any photos. There’s nothing worse than greasy finger marks over the lens. For one, it’s going to make your pictures look really blurry. And two, it just looks so unprofessional.
Let me explain! So if you just get a dry piece of tissue, then just give it a quick wipe and it’s as simple as that.
Lighting Set Up:
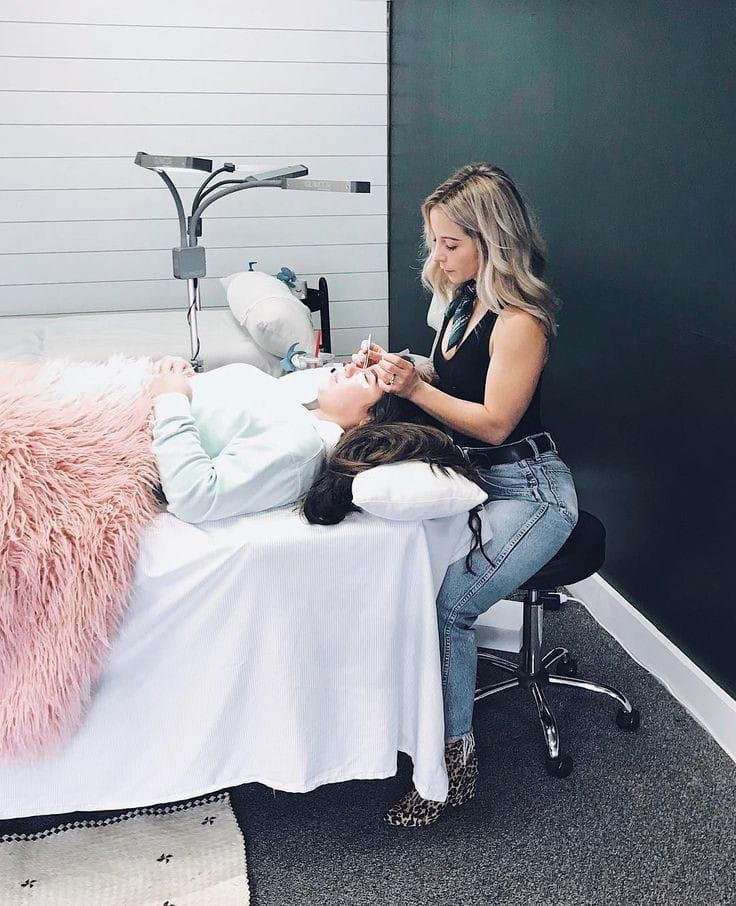
Now it’s time to set up your lighting. So the aim here is to make sure there are no unflattering shadows on the face and you want to make sure you’re highlighting every bit of detail in the beautiful work you just created.
Step three, using your macro lens so you don’t actually have to use this for every single Lash Photo. But it’s perfect when you want to get that close up detail shots.
Step four; it’s all about the angles you really need to make sure that you’re capturing your client’s eye at the best angle. This can make the photo perfect. Taking the photo from the right angle creates the illusion of depth and it also makes your pictures look more professional.
Step five; Details are very important. So if you’ve taken a photo that you’re really happy with, but you notice there’s an eyebrow hair replace or the lashes aren’t brushed, just retake it.
. I understand that you might feel uncomfortable asking your client to retake the photo, but it’s better in the long run. If your clients look nice in your photos, there’s more chance that they’ll repost them.
Basically, if they look good, you look good. So now we’ve got the steps down, let’s go and do a quick
Light Direction:
So here you want to set up your light directly in front of your client’s face and then go ahead and turn the lights up so they’re nice and bright. If you are using a glam core, you’ll notice that you can move the light heads so you’ve got more control over the lighting. If you notice your client starting to slouch, just tell them to sit up straight and put their shoulders back. And also remember to tell your client to look straight ahead and not into the camera so that the pupil is always in the middle of the eye. Making sure that you’re capturing the eye at the right angle is so important. Of course you can have a play around and see what works best. I would suggest taking your time in finding the best angle. Like I mentioned earlier, if your last photos look good, then there’s more chance of your client reposting them, which means more free Advertisement for yourself. And also your client gets to share the nice new lashes with all the friends on Instagram. So here you may have thought you’ve taken the perfect photo, but then you’ve noticed an eyebrow hair that’s out of place or the lashes look messy.

<script async src="https://pagead2.googlesyndication.com/pagead/js/adsbygoogle.js?client=ca-pub-4586712876885305"
     crossorigin="anonymous"></script>
<!-- add1 -->
<ins class="adsbygoogle"
     style="display:block"
     data-ad-client="ca-pub-4586712876885305"
     data-ad-slot="7634358533"
     data-ad-format="auto"
     data-full-width-responsive="true"></ins>
<script>
     (adsbygoogle = window.adsbygoogle || []).push({});
</script>
Macro Lens:
This is your chance to fix them and from there you can continue taking your photos. Let’s also take a look at the phone lens and see what it’s actually used for. Here’s what happens when you try to take a close up image of the lashes without the phone lens. So if you are looking to get that close up detailed shots of your lashes, here the perfect way to do that. So first, attach your phone lens. Make sure you’re getting quite close up to your client’s eye. When you’re using the phone lens on your phone screen, you’ll be able to see what a big difference the phone lens actually makes.
Once you’re happy with all the photos that you’ve taken, it’s time for the researching stage. This is so important. Even if you think you’re happy with the pictures and they look perfect straight off the phone, they will always need some extra work to start you off. We’ve rammed up some of the best researching apps that you can use.
Editing Apps:
So the first app we’ve lined up for you is called Airbrush. This app will allow you to smooth the client’s skin using the Smooth tool. This means you can just brush over the skin and it will blur it slightly to make it look a bit smoother and cleaner. And you can also view a before and after so you can check your progress throughout the researching stage. This app is really great for doing overall changes to your images so you can change the brightness settings. You can also edit the contrast which will make the black stand out in your pictures a bit

You can also crop your image in here and then there’s an option to skew so this means you can place the eye at an angle that you are most happy. You can also change the sharpness of the image but I wouldn’t go too overboard with this as it can look really fake and another good feature that you can do. You can change the colour temperature within the image so if your image is a bit too warm you can just adjust the temperature settings and make it slightly cooler.
Facetune App:
Another amazing app that we thought was worth mention was Face tune too sadly free, but it’s worth the investment. This app is used by all Lash Masters. You can really go in and retouch the skin using the cleanse tool which makes your pictures look really professional. You can also use the concealed tool which will allow you to remove any spots or marks on the face that you don’t want to be seen in the photo. Then if you scroll through you’ll also see a tool called whiten. This is a really nice tool to use for your client’s eye. It just brightens up the white part of the eyeball so that it looks clean and it makes the eye really stand out.
If you scroll through again you will see a tool called Details. This is great for making the Iris part of the eye really stand out but make sure to not have the percentage set too high otherwise it will appear overly edited and quite fake in Facetune App too. You can also do basic image adjustments such as brightness, contrast, sharpen and also colour. So really this app is so useful to have.
It includes so many useful features just in one place so hopefully all these steps will be a massive help to you creating amazing body of work for your Instagram account. So just remember it’s all about training your eyes. Make sure they’re that you’re practicing frequently and also looking at what other lash tracks is doing and how they’re making their pictures amazing. Don’t forget to have a bit of fun while you’re taking these pictures of your client’s lashes. You should be proud and excited to showcase your work.
Lash Lifting Tools, Eyebrow Tweezers, EyeLash Mirrors, Eyelash Extension Tweezers, Beauty Scissors

<script async src="https://pagead2.googlesyndication.com/pagead/js/adsbygoogle.js?client=ca-pub-4586712876885305"
     crossorigin="anonymous"></script>
<!-- add1 -->
<ins class="adsbygoogle"
     style="display:block"
     data-ad-client="ca-pub-4586712876885305"
     data-ad-slot="7634358533"
     data-ad-format="auto"
     data-full-width-responsive="true"></ins>
<script>
     (adsbygoogle = window.adsbygoogle || []).push({});
</script>